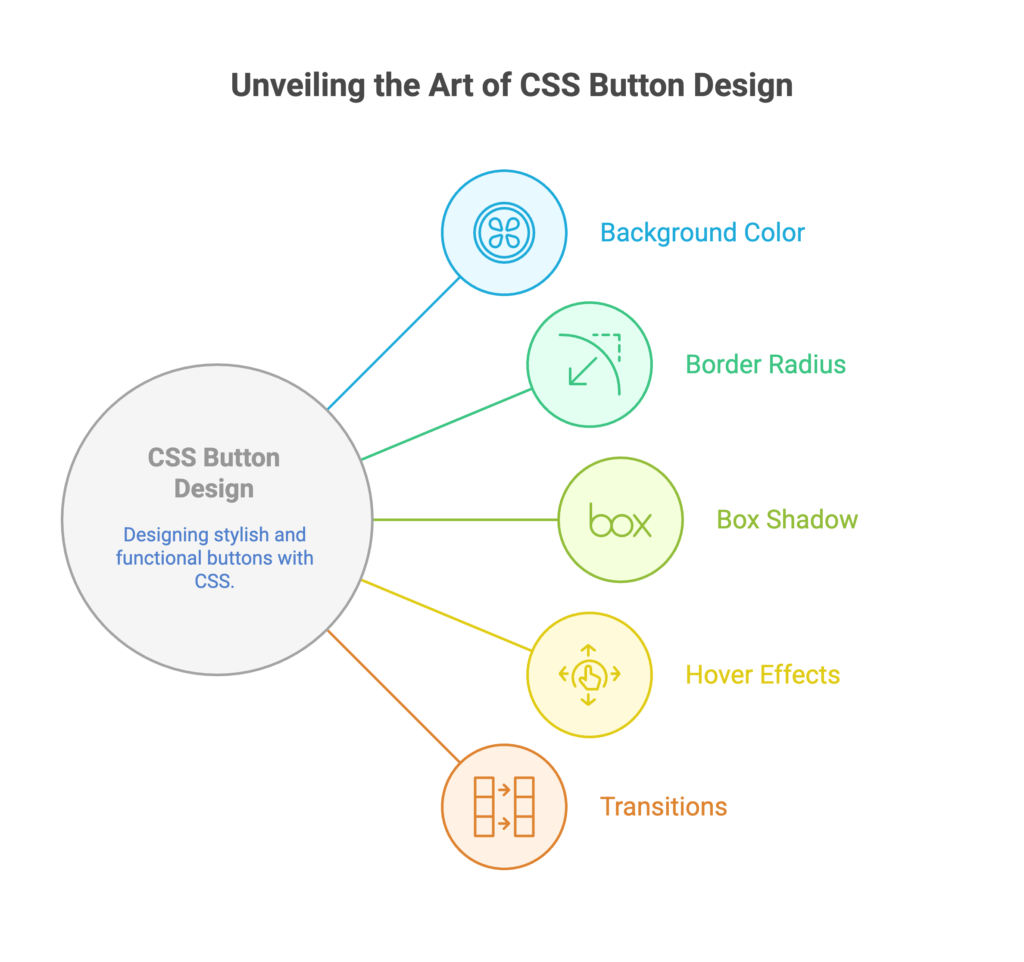
Stylish Buttons with CSS
Creating stylish buttons with CSS is an essential skill for web developers. It involves using various properties and styles to enhance the visual appeal of buttons and improve user interaction.

Basics
Basic Button Styling
Apply basic styles like background color, text color, and padding.
					/* Basic button styling */
.button {
  background-color: #3498db;
  color: #ffffff;
  padding: 10px 20px;
  border: none;
  border-radius: 5px;
  cursor: pointer;
}
Hover Effects
Add hover effects to make buttons interactive.
					/* Hover effect */
.button:hover {
  background-color: #2980b9;
}
Intermediate Usage
Transitions
Apply smooth transitions to create elegant effects during state changes.
					/* Transition effect */
.button {
  transition: background-color 0.3s ease;
}
Gradient Backgrounds
Use gradients for more visually appealing backgrounds.
					/* Gradient background */
.button {
  background: linear-gradient(to right, #3498db, #2980b9);
}
Advanced Techniques
Box Shadow and Depth
Add box shadows for a sense of depth.
					/* Box shadow for depth */
.button {
  box-shadow: 0 4px 6px rgba(0, 0, 0, 0.1);
}
Custom Borders
Create custom border styles for a unique look.
					/* Custom border */
.button {
  border: 2px solid #2980b9;
  border-radius: 20px;
}
Pseudo-elements for Button Effects
Use pseudo-elements like '::before' and '::after' for additional visual effects.
					/* Pseudo-elements for button effects */
.button {
  position: relative;
}

.button::before {
  content: "";
  position: absolute;
  top: 0;
  left: 0;
  width: 100%;
  height: 100%;
  background: rgba(255, 255, 255, 0.2);
  border-radius: 5px;
  opacity: 0;
  transition: opacity 0.3s ease;
}

.button:hover::before {
  opacity: 1;
}
Button with Gradient Border
Create buttons with gradient borders for a distinctive look.
					/* Gradient border button */
.button {
  background-color: #3498db;
  color: #ffffff;
  padding: 10px 20px;
  border: none;
  border-radius: 5px;
  background-clip: padding-box; /* Clip background to inside of border */
  border: 3px solid transparent;
  background-image: linear-gradient(to right, #3498db, #2980b9);
}
Considerations
Responsive Design
Ensure that your button styles adapt to different screen sizes.
					/* Responsive button */
.button {
  width: 100%;
  max-width: 300px; /* Adjust as needed */
}
Accessibility
Make buttons accessible by providing clear and meaningful text.
<button class="button" aria-label="Submit Form">Submit</button>
Custom Focus Styles
Enhance the focus state for better accessibility.
					/* Custom focus styles */
.button:focus {
  outline: none;
  box-shadow: 0 0 5px rgba(52, 152, 219, 0.7);
}
Button States
Style different button states, such as ':active' and ':disabled'.
					/* Custom focus styles */
.button:focus {
  outline: none;
  box-shadow: 0 0 5px rgba(52, 152, 219, 0.7);
}
Practical Use Cases
Icon Buttons
Create buttons with icons for a modern and clean design.
<button class="button">
  <i class="fas fa-heart"></i> Like
</button>
Animated Buttons
Add subtle animations to buttons for a polished look.
					/* Animated button */
.button {
  transition: transform 0.2s ease;
}

.button:hover {
  transform: scale(1.1);
}
Ghost Button with Border
Create a “ghost” button with a transparent background and a visible border.
					/* Ghost button with border */
.ghost-button {
  color: #3498db;
  background: transparent;
  border: 2px solid #3498db;
  padding: 10px 20px;
  border-radius: 5px;
  cursor: pointer;
}
Toggle Switch Button
Design a toggle switch button using CSS.
<label class="toggle-switch">
  <input type="checkbox">
  <span class="slider"></span>
</label>
					/* Toggle switch button */
.toggle-switch {
  position: relative;
  display: inline-block;
  width: 60px;
  height: 34px;
}

.toggle-switch input {
  opacity: 0;
  width: 0;
  height: 0;
}

.slider {
  position: absolute;
  cursor: pointer;
  top: 0;
  left: 0;
  right: 0;
  bottom: 0;
  background-color: #ccc;
  transition: 0.4s;
  border-radius: 34px;
}

.slider:before {
  position: absolute;
  content: "";
  height: 26px;
  width: 26px;
  left: 4px;
  bottom: 4px;
  background-color: white;
  transition: 0.4s;
  border-radius: 50%;
}

.toggle-switch input:checked + .slider {
  background-color: #2196F3;
}

.toggle-switch input:checked + .slider:before {
  transform: translateX(26px);
}
Creating stylish buttons with CSS involves a mix of foundational styles, advanced techniques, and thoughtful considerations for accessibility and user interaction. By combining the basics with more advanced features, you'll be able to craft buttons that not only look great but also provide a delightful user experience. Happy Coding! ❤️
