Working with the Requests Module
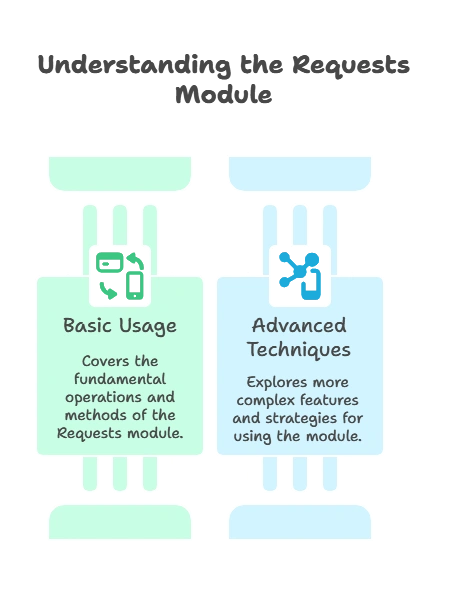
The Requests module is a powerful tool for making HTTP requests in Python, enabling you to interact with web services, APIs, and websites. In this topic, we'll explore everything you need to know about the Requests module, from basic usage to advanced techniques.
Introduction to the Request Module
In this section, we’ll cover the basics of the Requests module and its importance in Python programming.
What is the Requests Module?
The Requests module is a Python HTTP library that allows you to send HTTP requests easily.
Why is the Requests Module Important?
The Requests module simplifies the process of making HTTP requests, handling complexities such as URL encoding, session management, and authentication.
Installing the Requests Module
Before using the Requests module, you need to install it using pip, the Python package manager.
pip install requests
Explanation:
- This command installs the Requests module in your Python environment, allowing you to import and use it in your scripts.
Basic Random Number Generation
In this section, we’ll explore how to make basic HTTP requests using the Requests module.
Making a GET Request
The get() function is used to make a GET request to a specified URL.
					import requests

# Make a GET request to a URL
response = requests.get('https://api.github.com')
print(response.status_code)
# Output : 200
Explanation:
- In this example, we make a GET request to the GitHub API’s base URL, and the response status code
200is printed, indicating that the request was successful.

Passing Parameters in a GET Request
You can pass parameters to a GET request using the params parameter.
					import requests

# Make a GET request with parameters
response = requests.get('https://api.github.com/search/repositories', params={'q': 'python'})
print(response.url)
# Output : https://api.github.com/search/repositories?q=python
Explanation:
- Here, we make a GET request to search GitHub repositories for the term ‘python’ and print the resulting URL, which includes the search query as a parameter.
Advanced HTTP Requests
In this section, we’ll delve deeper into the Requests module and explore advanced techniques for making HTTP requests and handling responses.
Making a POST Request
The post() function is used to make a POST request to a specified URL with optional data.
					import requests

# Make a POST request with data
response = requests.post('https://httpbin.org/post', data={'key': 'value'})
print(response.json())
Output:
					{
  "args": {},
  "data": "",
  "files": {},
  "form": {
    "key": "value"
  },
  "headers": {
    "Content-Length": "9",
    "Content-Type": "application/x-www-form-urlencoded",
    "Host": "httpbin.org",
    "User-Agent": "python-requests/2.26.0",
    "X-Amzn-Trace-Id": "Root=1-61ff5b96-3d2a7a9158252c26770b9b76"
  },
  "json": null,
  "origin": "x.x.x.x",
  "url": "https://httpbin.org/post"
}
Explanation:
- In this example, we make a POST request to the httpbin.org endpoint with data
'key': 'value'. The response contains information about the request, including the form data.
Handling Response Data
You can access various attributes of the response object, such as status code, headers, and content.
					import requests

# Make a GET request
response = requests.get('https://api.github.com')
print(response.status_code)
print(response.headers['content-type'])
print(response.text)
Output (Example 1):
					200
application/json; charset=utf-8
{
  "current_user_url": "https://api.github.com/user",
  ...
}
Explanation:
- Here, we make a GET request to the GitHub API and print the status code, content type, and response body.
Customizing Requests
You can customize requests by adding headers, cookies, and timeouts.
					import requests

# Customize request headers
headers = {'User-Agent': 'Custom User Agent'}
response = requests.get('https://api.github.com', headers=headers)
print(response.request.headers)
Output:
{'User-Agent': 'Custom User Agent', 'Accept-Encoding': 'gzip, deflate', 'Accept': '*/*', 'Connection': 'keep-alive'}
Explanation:
- In this example, we customize the request by adding a custom User-Agent header, which is included in the request to the GitHub API.
In this comprehensive exploration of the Request module in Python, we've explored the Requests module in Python and learned how to effectively make HTTP requests, handle responses, and customize requests to interact with web services and APIs. By mastering the Requests module, you can seamlessly integrate web functionality into your Python applications, enabling tasks such as data retrieval, web scraping, and API integration. By understanding and applying these concepts, you'll be well-equipped to tackle a wide range of web-related tasks in your Python projects. Whether you're building web applications, consuming RESTful APIs, or performing web scraping, the Requests module provides a versatile and user-friendly interface for making HTTP requests. Happy Coding!❤️
