Node.js Project Structure and Organization
Organizing a Node.js project effectively is crucial for creating maintainable, scalable, and readable code.
Introduction to Project Structure in Node.js
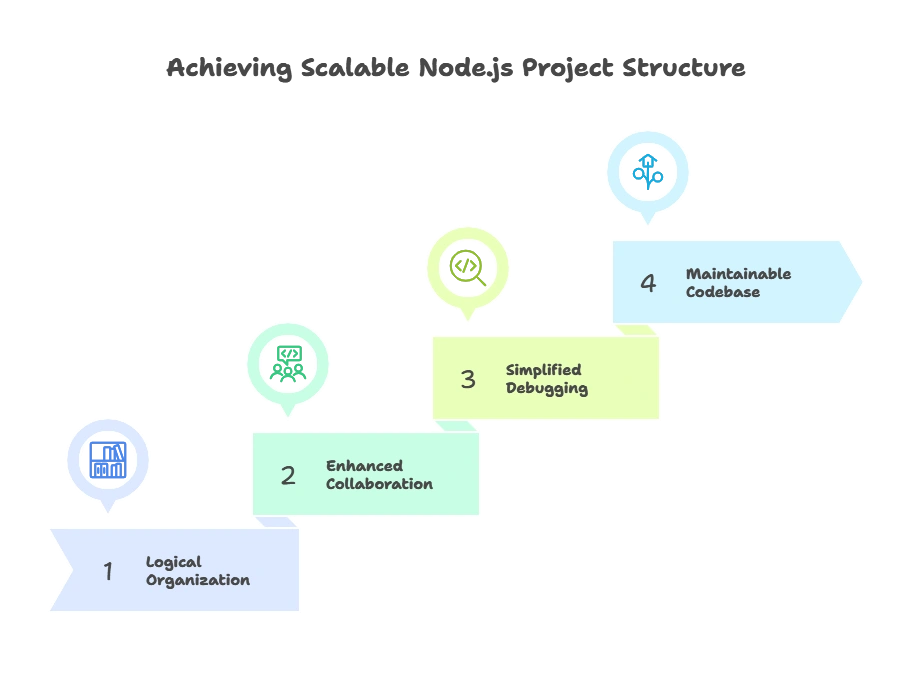
In Node.js development, organizing files and directories in a logical structure is essential for building a scalable application. A well-organized project structure enhances collaboration, simplifies debugging, and makes it easier to maintain the codebase over time.

Basic Project Structure
Before we dive into complex architectures, let’s start with a simple Node.js project structure. We’ll use a common directory layout to introduce essential files and folders.
Setting up a Node.js Project
1. Initialize the Project: Start by creating a new project and initializing it.
					mkdir my-node-app
cd my-node-app
npm init -y
Basic Project Files:
- package.json: Contains information about your project, such as dependencies, scripts, and metadata.
- .gitignore: Specifies files and directories to be ignored by Git.
- README.md: Document the purpose, setup instructions, and usage of the project.
Example:
					my-node-app/
├── package.json
├── .gitignore
└── README.md
Folder Organization for Small to Medium Projects
As the project grows, organizing files by function makes it easier to manage. Below are some common directories used in a Node.js project.
Recommended Folder Structure
					my-node-app/
├── src/
│   ├── config/             # Configuration files (e.g., database settings)
│   ├── controllers/        # Route handler functions
│   ├── models/             # Database schemas and models
│   ├── routes/             # Application routes
│   ├── utils/              # Utility functions
│   └── app.js              # Main application entry
├── tests/                  # Unit and integration tests
├── package.json
├── .gitignore
└── README.md
Advanced Project Structure for Larger Applications
As the project complexity grows, you may want to adopt an architectural pattern. Here are a few common patterns:
Model-View-Controller (MVC) Pattern
MVC is a widely used architectural pattern that separates the application into three main logical components: Model, View, and Controller.
- Model: Manages data and business logic.
- View: Responsible for displaying data to the user.
- Controller: Handles input and updates the Model and View.
Example of MVC Folder Structure
					my-node-app/
├── src/
│   ├── config/
│   ├── controllers/
│   ├── models/
│   ├── views/               # Template files (if using server-side rendering)
│   ├── routes/
│   ├── utils/
│   └── app.js
├── tests/
└── package.json
Service-Oriented Pattern
In service-oriented architectures, the application logic is divided into services. Each service is a separate, modular unit that performs a specific function.
Example Structure:
					my-node-app/
├── src/
│   ├── config/
│   ├── controllers/
│   ├── services/            # Service logic (e.g., authentication, data processing)
│   ├── models/
│   ├── routes/
│   ├── utils/
│   └── app.js
└── package.json
Layered Architecture
Layered architecture divides the application into layers, each with its own responsibility. Common layers include Controllers, Services, Data Access, and Routes.
Example Structure:
					my-node-app/
├── src/
│   ├── config/
│   ├── controllers/
│   ├── services/
│   ├── repositories/       # Data Access Layer (database interactions)
│   ├── routes/
│   └── app.js
└── package.json
Implementing Modularization and Separation of Concerns
Modularization helps keep code clean and organized. By separating concerns, each module can focus on a single aspect of the application, reducing the risk of bugs and making the code easier to test.
Example of a Modular Function
In utils/helpers.js:
					// utils/helpers.js
function formatDate(date) {
    return new Date(date).toLocaleDateString();
}

module.exports = { formatDate };
Using this utility function in a controller:
					// controllers/userController.js
const { formatDate } = require('../utils/helpers');

function getUserInfo(req, res) {
    const user = { name: 'Alice', joined: '2024-01-01' };
    res.json({ ...user, joined: formatDate(user.joined) });
}
Working with Environment Configurations
Sensitive data like API keys, database credentials, and other configuration values should not be hard-coded in the codebase. Instead, you can use environment variables.
1. Create a .env File in the root directory:
					DB_HOST=localhost
DB_USER=root
DB_PASS=s3cr3t
2. Install dotenv and Load Environment Variables
npm install dotenv
3. Using dotenv in the App
					require('dotenv').config();
const dbHost = process.env.DB_HOST;
const dbUser = process.env.DB_USER;
Setting Up Dependency Injection for Scalability
Dependency Injection (DI) is a design pattern that promotes loose coupling. In Node.js, DI can be implemented using modules like inversify or awilix, allowing you to inject dependencies into modules.
Adding Linting and Code Formatting for Consistency
Linting helps ensure code quality by enforcing style rules, catching syntax errors, and improving readability.
1. Install ESLint
npm install eslint --save-dev
2. Configure ESLint
Run npx eslint --init to configure ESLint for your project.
Examples of Organized Node.js Project Structures
Let’s look at an example of a complete project structure with some code implementations for context.
					my-node-app/
├── src/
│   ├── config/
│   │   └── db.js             # Database connection configuration
│   ├── controllers/
│   │   └── userController.js # User-specific route handlers
│   ├── models/
│   │   └── userModel.js      # User schema and data management
│   ├── routes/
│   │   └── userRoutes.js     # Routes related to user operations
│   ├── services/
│   │   └── userService.js    # Business logic for user data
│   ├── utils/
│   │   └── helpers.js        # Utility functions like formatting
│   └── app.js                # Main app entry point
├── tests/
├── .env                      # Environment variables
├── package.json
├── .gitignore
└── README.md
Properly structured projects not only help teams work more efficiently but also improve scalability and maintenance as the application grows. By adopting the recommended practices and structures in this guide, you can set up your Node.js projects for long-term success. Happy Coding!❤️
