Building Command Line Tools with Node.js
Node.js, with its fast runtime and rich ecosystem of libraries, is well-suited for building command-line tools that can be used for a wide range of tasks, such as automating workflows, manipulating files, and working with APIs.
Introduction to CLI Tools in Node.js
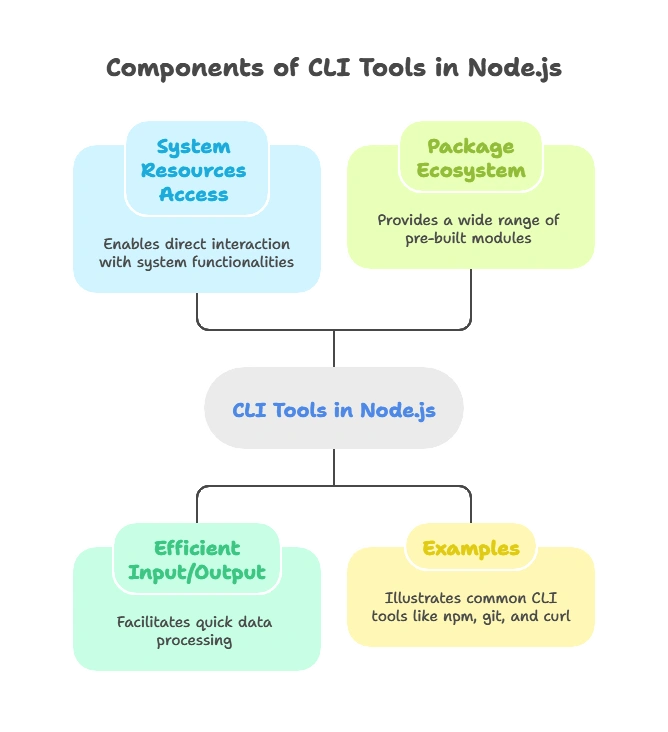
Command-Line Interface (CLI) tools are programs that accept input through the command line and perform specific functions based on that input. Node.js is particularly useful for CLI tool creation because it provides direct access to system resources, allows for efficient input/output, and has a powerful package ecosystem. Tools like npm, git, and curl are all examples of CLI tools.

Setting Up a Node.js CLI Project
Begin by setting up a new Node.js project for your CLI tool:
1. Create a New Directory:
					mkdir my-cli-tool
cd my-cli-tool
2. Initialize the Project:
npm init -y
3. Set up a Main File: In the package.json file, set bin to point to your main file:
					"bin": {
  "mycli": "./index.js"
}
This configuration allows users to run your tool with the command mycli after installing it globally.
4. Make the Main File Executable: Create index.js in the root directory and add the following line at the top of the file:
#!/usr/bin/env node
This line is called a “shebang” and tells the system to use Node.js to execute the file.
5. Give Permission to Execute: Run the following command to make index.js executable:
chmod +x index.js
Understanding Command-Line Arguments
Command-line arguments allow users to provide input directly when running the tool. These are accessible in Node.js via process.argv, an array where each element is a command-line argument.
Example:
					// index.js
console.log('Arguments:', process.argv);
Usage:
node index.js hello world
Output:
Arguments: ['/path/to/node', '/path/to/index.js', 'hello', 'world']
Creating a Basic CLI Tool
Let’s create a simple CLI tool that takes a name as an argument and greets the user.
Example:
					#!/usr/bin/env node

const args = process.argv.slice(2);
const name = args[0] || "Stranger";

console.log(`Hello, ${name}! Welcome to the CLI tool.`);
Usage:
node index.js Alice
Output:
Hello, Alice! Welcome to the CLI tool.
Adding Interactivity with readline and inquirer
Adding interactivity makes CLI tools user-friendly. Node.js provides the readline module, and the popular package inquirer for complex prompts.
Using readline
					const readline = require('readline');

const rl = readline.createInterface({
  input: process.stdin,
  output: process.stdout
});

rl.question('What is your name? ', (name) => {
  console.log(`Hello, ${name}!`);
  rl.close();
});
Using inquirer
Install inquirer:
npm install inquirer
Example with inquirer:
					const inquirer = require('inquirer');

inquirer.prompt([
  {
    type: 'input',
    name: 'username',
    message: 'What is your name?'
  }
]).then(answers => {
  console.log(`Hello, ${answers.username}!`);
});
File System Operations in CLI Tools
CLI tools often manipulate files. Node.js’s fs module provides methods for reading, writing, and deleting files.
Example: Reading and Writing Files
					const fs = require('fs');

// Writing to a file
fs.writeFileSync('output.txt', 'Hello, World!');

// Reading from a file
const content = fs.readFileSync('output.txt', 'utf-8');
console.log(content);
Output:
Hello, World!
Making API Requests in CLI Tools
API requests can enhance CLI tools by connecting them with web services. You can use the axios package for handling HTTP requests.
Install axios:
npm install axios
Example:
					const axios = require('axios');

axios.get('https://api.github.com/users/octocat')
  .then(response => {
    console.log('User info:', response.data);
  })
  .catch(error => {
    console.error('Error fetching data:', error.message);
  });
Output:
User info: { login: 'octocat', id: 583231, ... }
Creating User-Friendly CLI Output
Use the chalk package to add colors and improve readability.
Install chalk:
npm install chalk
Example:
					const chalk = require('chalk');

console.log(chalk.blue('This text is blue!'));
console.log(chalk.red.bold('This text is bold and red!'));
Distributing CLI Tools with npm
To make your CLI tool accessible globally, publish it to the npm registry:
1. Update package.json with the correct bin configuration.
2. Publish to npm:
npm publish --access public
Users can install your tool globally with npm install -g your-package-name.
Error Handling and Debugging in CLI Tools
Good CLI tools need robust error handling to manage unexpected inputs and failed operations.
Example of Error Handling:
					const fs = require('fs');

try {
  const data = fs.readFileSync('nonexistentfile.txt', 'utf8');
  console.log(data);
} catch (error) {
  console.error('File read error:', error.message);
}
Building CLI tools with Node.js opens up possibilities for automation, file manipulation, and more. In this chapter, we covered the steps from project setup to making your CLI tool interactive, handling files, making API requests, styling outputs, and publishing the tool. With the knowledge gained here, you’re now equipped to develop powerful, user-friendly CLI tools for various applications. Happy Coding!❤️
