API Documentation and Exploration (Swagger, API Blueprint)
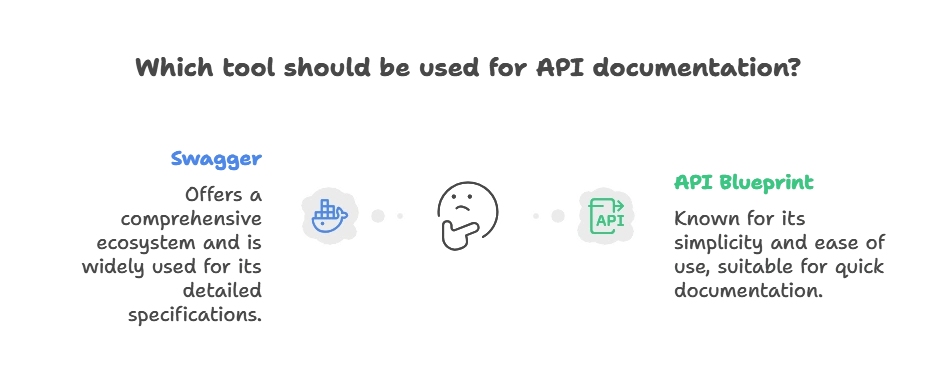
Creating robust, user-friendly API documentation is essential for any Node.js project that provides an API. Well-documented APIs make it easier for developers to understand, integrate, and maintain services, ultimately improving the API's usability and adoption. Two popular tools for this are Swagger and API Blueprint.
Introduction to API Documentation in Node.js
API documentation provides a roadmap for developers to understand how to interact with an API’s endpoints, request parameters, and responses. Well-written documentation can serve as a reference point, helping both new and experienced developers quickly integrate with an API and troubleshoot any issues they encounter.
Swagger and API Blueprint are two popular choices for building API documentation in Node.js. Each has its own syntax, ecosystem, and advantages that cater to different documentation needs.

Overview of Swagger
What is Swagger?
Swagger is an open-source framework backed by the OpenAPI Specification (OAS), which defines a standard for RESTful APIs. Swagger provides a comprehensive toolset for creating, generating, and visualizing API documentation. It includes an interactive user interface called Swagger UI that allows developers to test API endpoints directly from the browser.
Advantages of Using Swagger
- Standardization: The OpenAPI Specification ensures consistent documentation across APIs.
- Interactive UI: Swagger UI enables real-time testing of API endpoints.
- Automation: Swagger can auto-generate API documentation, reducing manual effort.
- Broad Ecosystem: Many tools, such as Swagger Editor and Swagger Codegen, work seamlessly together to streamline API documentation.
Basic Swagger Structure and Components
The core elements of Swagger include:
- Info: Basic information about the API, such as title, version, and description.
- Paths: Defines the endpoints available in the API.
- Parameters: Specifies the inputs required for an endpoint.
- Responses: Describes possible response codes and formats.
- Security: Defines authentication methods for the API.
Setting Up Swagger with Node.js
To use Swagger in a Node.js project, we typically use the swagger-jsdoc package to generate documentation from JSDoc comments in our code, and swagger-ui-express to host the documentation as an interactive UI.
Step 1: Install the required dependencies:
npm install swagger-jsdoc swagger-ui-express
Step 2: Set up Swagger in an Express application:
					const express = require('express');
const swaggerJsDoc = require('swagger-jsdoc');
const swaggerUi = require('swagger-ui-express');

const app = express();

// Swagger configuration
const swaggerOptions = {
  swaggerDefinition: {
    openapi: '3.0.0',
    info: {
      title: 'Sample API',
      version: '1.0.0',
      description: 'A simple API documentation example using Swagger and Node.js'
    }
  },
  apis: ['./routes/*.js'], // Path to files where Swagger comments are located
};

const swaggerDocs = swaggerJsDoc(swaggerOptions);
app.use('/api-docs', swaggerUi.serve, swaggerUi.setup(swaggerDocs));

app.listen(3000, () => {
  console.log('Server is running on port 3000');
  console.log('API docs available at http://localhost:3000/api-docs');
});
Output: When you navigate to http://localhost:3000/api-docs, you’ll see the Swagger UI with your documented endpoints.
Step 3: Documenting an Endpoint with Swagger Comments:
In the route files (e.g., ./routes/example.js), add JSDoc comments to describe your endpoints.
					/**
 * @swagger
 * /items:
 *   get:
 *     summary: Retrieve a list of items
 *     responses:
 *       200:
 *         description: A list of items
 *         content:
 *           application/json:
 *             schema:
 *               type: array
 *               items:
 *                 type: object
 *                 properties:
 *                   id:
 *                     type: integer
 *                   name:
 *                     type: string
 */
app.get('/items', (req, res) => {
  res.json([{ id: 1, name: 'Item 1' }]);
});
Example: Creating and Documenting a REST API with Swagger
By adding JSDoc comments to each endpoint, Swagger generates a comprehensive and interactive API documentation. Users can test each endpoint within the Swagger UI, complete with response codes, example payloads, and response formats.
Overview of API Blueprint
What is API Blueprint?
API Blueprint is a Markdown-based documentation format for APIs. It allows you to write human-readable API documentation using plain text, which is then parsed to create a structured format. API Blueprint has a lightweight syntax, making it easy for developers to write documentation quickly.
Advantages of Using API Blueprint
- Simplicity: The Markdown-based syntax is easy to read and write.
- Tools Integration: Supports tools like Aglio and Apiary for rendering and testing APIs.
- Version Control Friendly: Since it’s text-based, API Blueprint documentation can easily be tracked in version control systems like Git.
Basic API Blueprint Syntax and Structure
API Blueprint documents are structured with sections for endpoints, request/response examples, and parameters.
Example of API Blueprint syntax:
					# Sample API
This API allows you to manage items.

## GET /items
+ Response 200 (application/json)
    + Attributes (array)
        + (object)
            + id: 1 (number, required)
            + name: "Item 1" (string, required)
Implementing API Blueprint in Node.js
To render API Blueprint documentation, you can use tools like Aglio or Apiary. Aglio renders API Blueprint files as HTML documentation, while Apiary provides an interactive online viewer.
Step 1: Install Aglio for local previewing:
npm install -g aglio
Step 2: Generate HTML documentation from an API Blueprint file:
aglio -i api-blueprint.md -o api-documentation.html
This command will create an HTML file that serves as documentation for your API Blueprint file.
Best Practices for API Documentation in Node.js
- Use Consistent Terminology: Ensure consistent naming conventions for endpoints, parameters, and response fields.
- Provide Examples: Include example requests and responses for each endpoint.
- Document Error Codes: Describe possible error responses, including HTTP status codes and error messages.
- Update Documentation Regularly: Keep documentation up-to-date as you add, remove, or modify endpoints.
Comparison of Swagger and API Blueprint
| Feature | Swagger | API Blueprint |
|---|---|---|
| Syntax | JSON/YAML | Markdown |
| Interactive Testing | Yes, via Swagger UI | Yes, via Apiary |
| Complexity | Moderate | Simple |
| Ecosystem | Large (many tools) | Moderate |
| Ideal Use Cases | Comprehensive API management | Simple API documentation |
Documenting APIs is essential for clear communication between developers and consumers. Swagger and API Blueprint offer different approaches to achieving this goal, with Swagger focusing on an interactive and standardized experience, while API Blueprint provides a simpler, text-based approach. Happy Coding!❤️
