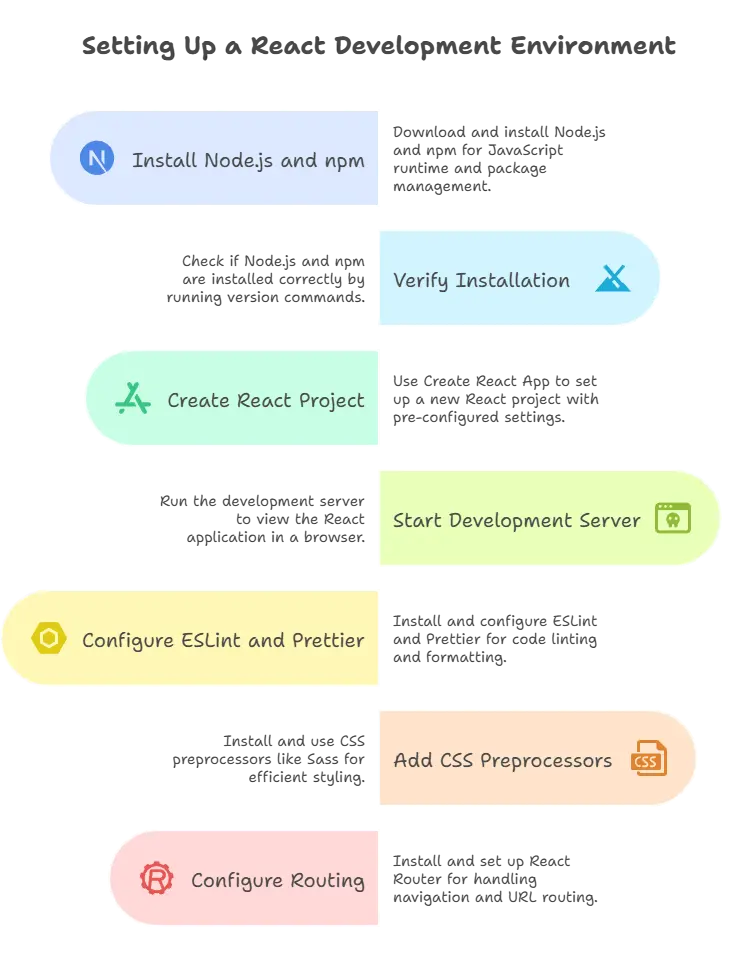
Development Environment
A development environment is a setup that includes all the necessary tools and configurations for developing software. For React.js development, we need tools to write, debug, and test our code efficiently.

Basic Setup
Install Node.js and npm
Node.js is a JavaScript runtime environment that allows you to run JavaScript code outside of a web browser. npm (Node Package Manager) is a package manager for Node.js that helps you manage project dependencies.
Installation Steps
- Visit the Node.js website (https://nodejs.org) and download the latest LTS version.
- Follow the installation instructions for your operating system.
- After installation, verify that Node.js and npm are installed correctly by running the following commands in your terminal:
					node -v
npm -v
Create a New React Project
To create a new React project, we’ll use Create React App, a tool that sets up a new React project with a pre-configured development environment.
Open your terminal and run the following command to install Create React App globally
npm install -g create-react-app
- Once installation is complete, navigate to the directory where you want to create your new React project.
- Run the following command to create a new React project named “my-react-app”
npx create-react-app my-react-app
Folder structure
					my-react-app/
├── node_modules/
├── public/
│   ├── index.html
│   └── favicon.ico
├── src/
│   ├── components/
│   │   └── App.js
│   ├── App.css
│   ├── index.js
│   └── logo.svg
├── .gitignore
├── package-lock.json
├── package.json
└── README.md
what directory and files says ?
node_modules/: This directory contains all the dependencies of your project installed via npm. You typically don’t need to modify anything in this folder.
public/: This directory contains static assets like HTML files, images, and favicon. The index.html file is the main HTML file where your React application will be mounted.
index.html: The main HTML file of your React application. It contains a <div id="root"></div> where your React components will be rendered.
favicon.ico: The favicon of your application.
src/: This directory contains the source code of your React application.
components/: This directory contains React components. Each component is typically defined in its own file.
App.js: The main component of your application. This is where you define the structure and behavior of your application.
App.css: CSS file for styling the App component.
index.js: The entry point of your application. This is where you import the main App component and render it to the DOM.
logo.svg: A sample SVG logo used in the default Create React App template.
.gitignore: Specifies intentionally untracked files that Git should ignore.
package-lock.json: Automatically generated for any operations where npm modifies either the node_modules tree or package.json file.
package.json: Metadata about the project and its dependencies. It also contains scripts for running, building, and testing the application.
README.md: A markdown file containing information about the project, such as how to install and run it.
Start the Development Server
After creating a new React project, we can start the development server to see our React application in action.
Navigate into your project directory:
cd my-react-app
Run the following command to start the development server:
npm start
Explaining the Code
- Create React App sets up a basic React project structure with all the necessary configurations, including Babel, Webpack, and development server.
- Running
npm startstarts the development server and opens your default web browser to display your React application. - Any changes you make to your code will automatically trigger a reload of the development server, allowing you to see your changes in real-time.
When you run npm start, you should see a new browser tab open with your React application running. You’ll typically see the default React logo and text on the screen.
Advanced Setup
Configuring ESLint and Prettier
ESLint is a tool for identifying and reporting on patterns found in JavaScript code, with the goal of making code more consistent and avoiding bugs. Prettier is an opinionated code formatter that enforces a consistent code style.
Installation Steps
Run the following command to install ESLint and Prettier plugins for React:
npm install --save-dev eslint eslint-plugin-react eslint-plugin-react-hooks eslint-config-prettier eslint-plugin-prettier prettier
- Create an
.eslintrc.jsonfile in your project directory and configure ESLint settings. You can use the default settings provided by Create React App or customize them according to your preferences.
Adding CSS Preprocessors
CSS preprocessors like Sass or Less allow you to write CSS with features like variables, nesting, and mixins, making styling more efficient and maintainable.
Installation Steps
Run the following command to install Sass:
npm install node-sass
- Create a new
.scssfile in your project directory and start writing Sass code.
Configuring Routing
React Router is a popular library for handling routing in React applications, allowing you to create navigation and URL routing.
Run the following command to install React Router:
npm install react-router-dom
- Start using React Router in your application by defining routes and navigation components.
In this chapter, we covered the process of setting up the development environment for React.js. We installed Node.js and npm, created a new React project using Create React App, started the development server, and explored advanced configurations such as ESLint, Prettier, CSS preprocessors, and React Router.Happy coding !❤️
