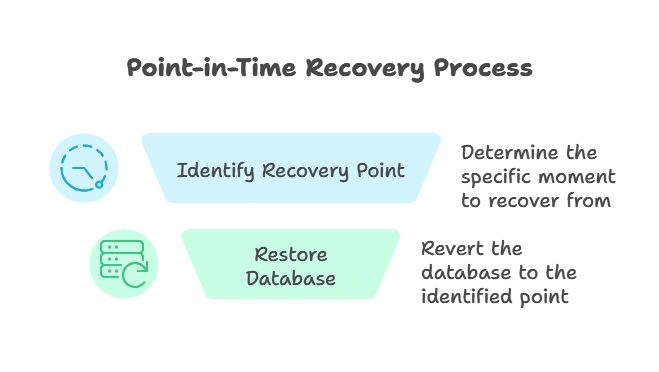
Implementing Point-in-Time Recovery (PITR) Mechanism in MongoDB
This chapter will guide you through implementing a Point-in-Time Recovery (PITR) mechanism in MongoDB, a method allowing you to recover your data from a specific time in the past, which is invaluable for data consistency, disaster recovery, and operational resilience.
Introduction to Point-in-Time Recovery (PITR)
What is Point-in-Time Recovery?
- Point-in-Time Recovery (PITR) enables the recovery of a database state from a specific moment. It’s especially useful for undoing accidental data loss or corruption.
Why PITR is Important
- PITR can mitigate risks associated with data loss, accidental deletions, and application errors by restoring the database to a prior consistent state.

MongoDB’s Approach to PITR
MongoDB’s Built-in Backup and Restore Features
- MongoDB offers backup features such as snapshots,
mongodump, andmongorestore, which are fundamental to PITR. - MongoDB Atlas provides cloud-based, automated snapshots that support point-in-time recovery directly.
Comparison to Traditional PITR Mechanisms
- Unlike traditional RDBMS PITR implementations that use logs, MongoDB’s PITR mechanism relies on backup snapshots and oplogs for incremental backup recovery.
Enabling Point-in-Time Recovery in MongoDB Atlas
Configuring Automated Snapshots
- MongoDB Atlas provides automated backup with continuous snapshots and point-in-time restore options.
- Steps to enable snapshots:
- Navigate to Backup options on MongoDB Atlas.
- Enable continuous backups.
- Configure backup policies.
Configuring Point-in-Time Restore
- Steps to enable PITR in Atlas:
- Set the desired backup window.
- Define the retention policy for snapshots.
Implementing PITR for Self-Managed MongoDB Deployments
Understanding the Components of PITR
- Oplog: A special capped collection in MongoDB that logs all operations. For PITR, combining oplog backups with snapshots is key.
- Snapshots: Base snapshots serve as the starting point, with oplogs filling in the incremental changes.
Setting Up Oplog Archiving
- Enable oplog archiving to capture incremental changes.
- Example configuration for oplog archiving:
					# Sample oplog archiving setup in config file
replication:
  oplogSizeMB: 1024
  oplogMinRetentionHours: 24
Creating Snapshots with mongodump
- Use
mongodumpto capture full backups periodically:
mongodump --db myDatabase --out /backups/myDatabase-YYYYMMDD
Combining Snapshots with Oplog for PITR
- Start from the snapshot closest to the desired point in time, then apply oplog operations up to that moment.
- Steps:
- Restore snapshot with
mongorestore. - Use
applyOpswith oplog entries to reach the exact time.
- Restore snapshot with
Restoring from a Point in Time
Determining the Recovery Point
- Identify the recovery point by determining the timestamp of the required oplog entry.
Using Oplog to Apply Incremental Changes
- Extract relevant oplog entries and apply them sequentially:
					db.oplog.rs.find({
    ts: { $gte: Timestamp(<desired_start_time>, 1) }
}).forEach(op => db.getSiblingDB(op.ns).applyOps([op]));
Example: Recovering from a Specific Time
- Suppose an accidental data modification occurred on
2023-10-10T10:00:00. - Steps:
- Restore the snapshot taken before
2023-10-10T10:00:00. - Apply oplog entries to recover up until just before the unwanted changes.
- Restore the snapshot taken before
PITR in a Sharded Cluster Environment
Challenges of PITR in Sharded Clusters
- In a sharded environment, each shard has its oplog, making PITR more complex as multiple oplogs must be synchronized.
Implementing PITR in a Sharded Cluster
- Use backup snapshots for each shard.
- Apply the oplog changes sequentially for each shard, ensuring consistency across shards.
Example of PITR in a Sharded Cluster
- Assume a sharded cluster with two shards, each with its oplog.
- Restore each shard’s snapshot independently, then replay oplogs for each shard, starting from a consistent timestamp.
Automated PITR with MongoDB Atlas and Tools
MongoDB Atlas Continuous Backup and PITR
- MongoDB Atlas automates the entire PITR process with continuous backup options that capture real-time data.
- Automated PITR steps:
- Enable continuous backups.
- Select a specific timestamp for restore via the Atlas interface.
Using Ops Manager for Self-Managed Deployments
- Ops Manager provides automated backups and PITR for on-prem deployments, streamlining oplog capture and backup management.
Best Practices for PITR in MongoDB
Regular Snapshot Scheduling
- Schedule frequent snapshots as they serve as the base for PITR.
Oplog Monitoring and Management
- Ensure the oplog retention window is configured to capture enough history for potential PITR needs.
Testing PITR Processes
- Regularly test PITR by restoring to specific points in time to ensure your process is smooth and reliable.
Ensure Security and Access Control
- Limit access to backups and oplogs to prevent unauthorized recovery attempts.
Case Study: Financial Application Using PITR
Requirements
- The finance application requires PITR to mitigate the risk of data loss from human errors or unexpected application behavior.
Implementing PITR for Financial Transactions
- Set up regular snapshots every hour, with oplog archiving enabled.
- Implement automated scripts for detecting critical data events and triggering PITR if needed.
Point-in-Time Recovery is an invaluable tool for maintaining data consistency and resilience in MongoDB environments, providing a safety net against data loss or corruption. By leveraging a combination of backups, oplog archiving, and automated tools, MongoDB allows efficient PITR even in distributed setups. Implementing PITR with the outlined best practices ensures an effective, robust backup and recovery strategy for any MongoDB deployment. Happy coding !❤️
