Forking Workflow
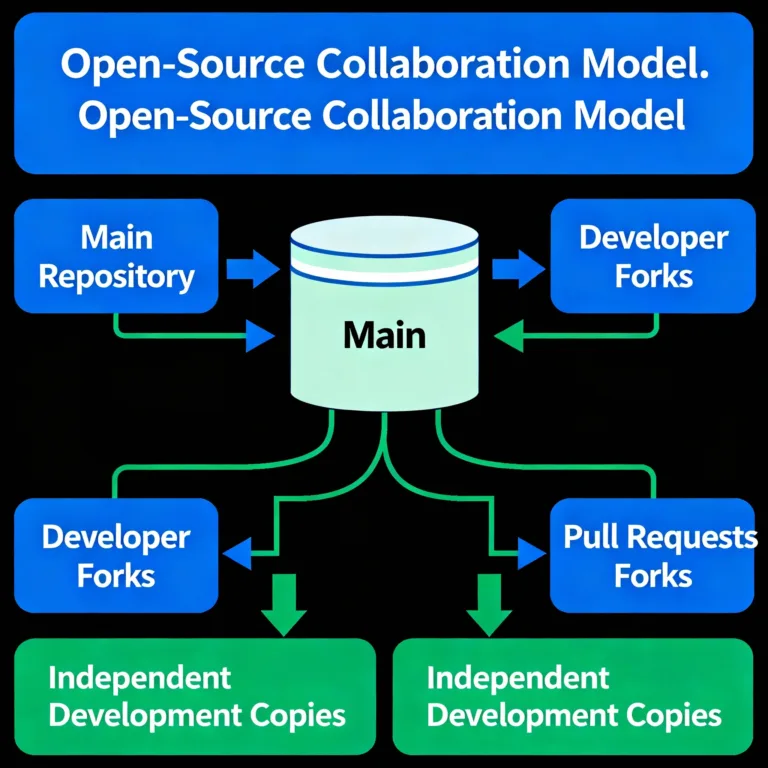
The Forking Workflow is a popular Git-based development strategy often used in open-source projects. It involves creating copies of the main project repository, allowing developers to make and test changes independently without affecting the original repository. Forking Workflow is ideal for large teams, contributors from outside the organization, and open-source projects where multiple developers work on independent features or bug fixes.

Introduction to Forking Workflow
The Forking Workflow is distinct from other workflows (such as Gitflow) because it uses forks—independent copies of the main project repository on Git hosting platforms like GitHub or GitLab. Each developer can create a personal copy of the main repository (the “origin” repo) and work on features or fixes without affecting others. When ready, developers submit a pull request (PR) to propose their changes for inclusion in the original repository.
How Forking Workflow Works
In the Forking Workflow, developers follow these steps:
- Fork the Repository: Create a personal copy of the main repository.
- Clone the Forked Repository: Download the forked repository onto your local machine for development.
- Make Changes Locally: Develop features or fixes in the forked repository.
- Push Changes to the Fork: Push local changes to your online fork.
- Create a Pull Request: Propose your changes for review by creating a PR from your forked repository to the main repository.
This workflow ensures that developers’ work stays isolated until ready for integration, allowing the main repository to remain stable.
Setting Up the Forking Workflow
To start using the Forking Workflow, you’ll need access to a Git hosting platform. Here’s how to set it up.
Step 1: Fork the Repository
On GitHub or GitLab, go to the original project repository. Click the Fork button to create a personal copy under your account.
Step 2: Clone Your Forked Repository
After forking, you can clone the repository locally:
git clone https://github.com/your-username/project-name.git
This command downloads your forked repository to your local machine, allowing you to start making changes.
Step 3: Add the Original Repository as a Remote
To stay updated with the main repository, add it as a remote named upstream:
					cd project-name
git remote add upstream https://github.com/original-owner/project-name.git
originpoints to your fork.upstreampoints to the original repository
Working with the Forking Workflow
In this section, we’ll explore the core steps involved in the Forking Workflow.
Cloning a Fork
After forking, you clone the repository to your local machine. For instance
git clone https://github.com/your-username/project-name.git
This sets up a local copy where you can begin development.
Making Changes on a Fork
In this workflow, it’s a best practice to create a new branch in your fork for each feature or bug fix. For example:
git checkout -b feature-login
Then make your changes, commit them, and push to your fork
					git add .
git commit -m "Add login feature"
git push origin feature-login
- Explanation:
feature-loginis a branch dedicated to the login feature, allowing organized work on a specific functionality.
Output of Commands
git commit -m "Add login feature": Confirms that changes have been saved.git push origin feature-login: Sends updates fromfeature-loginin your local repository to the corresponding branch in your fork on GitHub/GitLab.
Keeping Your Fork Updated
Periodically, pull changes from the main repository to ensure your fork is up-to-date
					git fetch upstream
git checkout main
git merge upstream/main
Explanation: git fetch upstream retrieves changes from the main repo without altering your local branches. git merge upstream/main applies these updates to your local main branch.
Submitting Changes via Pull Requests
After finalizing your feature or fix, submit a pull request (PR).
- Push your branch to your fork (if not already done).
- Navigate to your fork on GitHub or GitLab.
- Select the branch and click Pull Request.
In your PR description, provide context about your changes. The main repository maintainers will review, discuss, and eventually merge the PR if approved
Benefits and Drawbacks of Forking Workflow
Benefits
- Isolation of Work: Each developer works on their fork, ensuring isolation and reduced risk of overwriting others’ work.
- Ideal for Open Source: Contributors from outside can make contributions without needing direct access to the main repository.
- Efficient Code Review: PRs centralize code review, making it easier for maintainers to track contributions.
Drawbacks
- Complexity: Requires managing multiple repositories and remotes, which can be complex for new Git users.
- More Steps for Merging: Unlike workflows with shared branches, merging requires PRs, potentially slowing down integration.
The Forking Workflow is a powerful approach that prioritizes isolation, collaborative contributions, and code stability, making it the workflow of choice for open-source projects and distributed teams. Happy Coding!❤️
