Introduction to Git Hooks
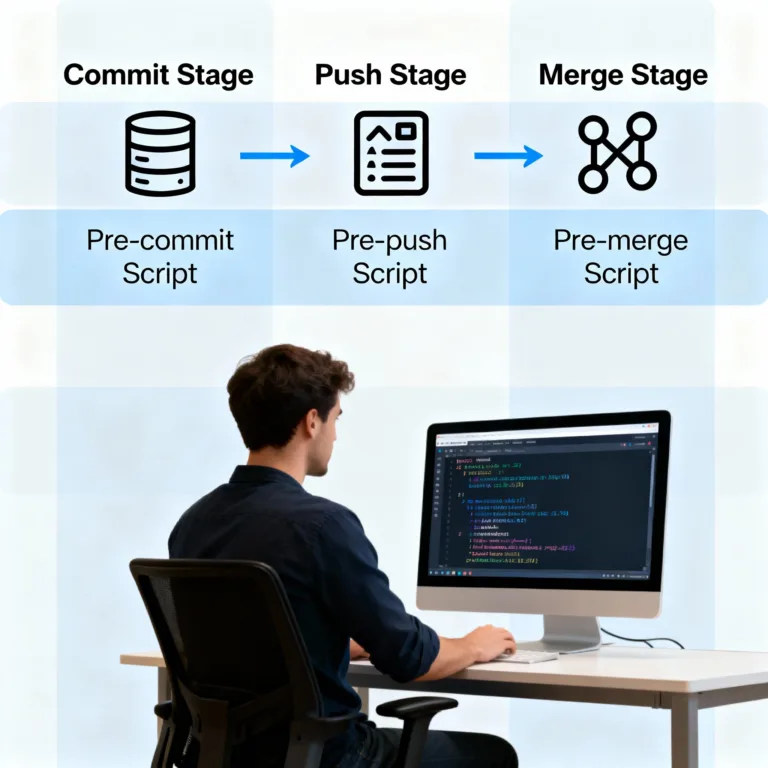
Git hooks are powerful tools that allow developers to automate tasks and enforce policies at various stages of the Git workflow. By providing ways to trigger custom scripts at different points, Git hooks can help teams improve code quality, automate repetitive tasks, and ensure consistency.

What Are Git Hooks?
Git hooks are customizable scripts that Git runs before or after certain events. They are typically stored in the .git/hooks directory of a repository, and they allow developers to execute custom actions automatically at specific points in their workflow, such as before committing or pushing code.
Why Use Git Hooks?
Using Git hooks has several advantages:
- Automate Repetitive Tasks: Hooks can automate tasks like formatting code, running tests, and checking code quality.
- Enforce Coding Standards: Prevent commits that don’t follow the team’s coding standards.
- Increase Productivity: Free up time spent on manual checks, reducing human error.
- Streamline Team Workflow: Git hooks help ensure consistency across team members by applying checks and balances automatically.
Types of Git Hooks
There are two main types of Git hooks:
Client-Side Hooks
These run on your local machine and are useful for automating tasks before changes are sent to a remote repository. Examples include pre-commit, pre-push, and commit-msg hooks.
Server-Side Hooks
Server-side hooks are run on the Git server and are used to enforce policies for a remote repository. Examples include pre-receive, update, and post-receive hooks.
Setting Up Git Hooks
Directory Structure
Git hooks are located in the .git/hooks directory. When you initialize a Git repository, several example hooks are created here with .sample extensions.
ls .git/hooks
Example output:
					applypatch-msg.sample
commit-msg.sample
pre-commit.sample
post-update.sample
To activate a hook, you can rename the sample file (e.g., pre-commit.sample to pre-commit) and add custom script logic.
Example Setup
Let’s activate and edit the pre-commit hook:
1. Open .git/hooks/pre-commit in a text editor.
2. Add a script, such as checking if any staged files contain the word “TODO.”
					#!/bin/bash
# Check for "TODO" in staged files
if git diff --cached | grep -q "TODO"; then
    echo "ERROR: Please remove TODO comments before committing."
    exit 1
fi
3. Make the hook executable:
chmod +x .git/hooks/pre-commit
Now, the pre-commit hook will prevent commits that contain “TODO.”
Using Client-Side Git Hooks
Client-side hooks run on the developer’s local machine and affect individual commits and pushes. Here are some commonly used client-side hooks.
Pre-commit Hook
The pre-commit hook runs before the commit message editor opens. It’s typically used to check code quality, run tests, or format code.
Example: Ensuring that all JavaScript files are properly linted before committing.
					#!/bin/bash
# Lint all JavaScript files
if ! npm run lint; then
    echo "Linting failed. Please fix errors before committing."
    exit 1
fi
Output:
Linting failed. Please fix errors before committing.
Prepare-commit-msg Hook
The prepare-commit-msg hook is run before the commit message editor opens, and it’s useful for modifying or pre-filling the commit message.
Example: Adding a prefix to commit messages.
					#!/bin/bash
# Prefix commit message with "TASK-ID:"
TASK_ID="TASK-123"
echo "$TASK_ID $(cat "$1")" > "$1"
Commit-msg Hook
The commit-msg hook verifies that the commit message adheres to specific guidelines.
Example: Ensuring commit messages contain a minimum number of characters.
					#!/bin/bash
# Check if commit message is at least 15 characters long
MSG=$(cat "$1")
if [ ${#MSG} -lt 15 ]; then
    echo "Commit message too short. Please provide a more descriptive message."
    exit 1
fi
Post-commit Hook
The post-commit hook runs after a commit has been recorded. It’s often used for notifying or logging purposes.
Using Server-Side Git Hooks
Server-side hooks are essential for enforcing policies on remote repositories. They prevent specific actions from happening on the server side, which is useful for teams working on shared repositories.
Pre-receive Hook
The pre-receive hook runs before changes are accepted into a remote repository. It’s often used for verifying that incoming changes meet repository guidelines.
Example: Blocking commits that don’t have an associated issue ID.
					#!/bin/bash
while read oldrev newrev refname
do
    if ! git log --format=%B $newrev -n 1 | grep -q "ISSUE-"; then
        echo "Error: Commits must contain an ISSUE ID."
        exit 1
    fi
done
Update Hook
The update hook runs before a branch is updated, making it useful for validating branch updates.
Post-receive Hook
The post-receive hook is commonly used for deployment triggers and notifications after a push completes.
Real-World Examples and Scenarios
Scenario 1: Enforcing Code Linting
By adding a pre-commit hook that automatically runs eslint, you can enforce linting, which ensures code quality before committing.
Scenario 2: Blocking Pushes to Main Branch
Using a pre-push hook, you can prevent accidental pushes to the main branch.
Best Practices for Git Hooks
- Use Hooks Sparingly: Only apply hooks that add clear value to your workflow.
- Document Each Hook: Explain what each hook does and why it’s needed.
- Avoid Long-Running Hooks: Ensure that hooks don’t slow down the workflow.
- Make Hooks Fail Gracefully: Provide clear error messages when a hook fails.
Git hooks are powerful tools that help automate and enforce workflows, enhancing both code quality and consistency. By understanding and leveraging both client-side and server-side hooks, you can greatly streamline your Git processes. Happy Coding!❤️
