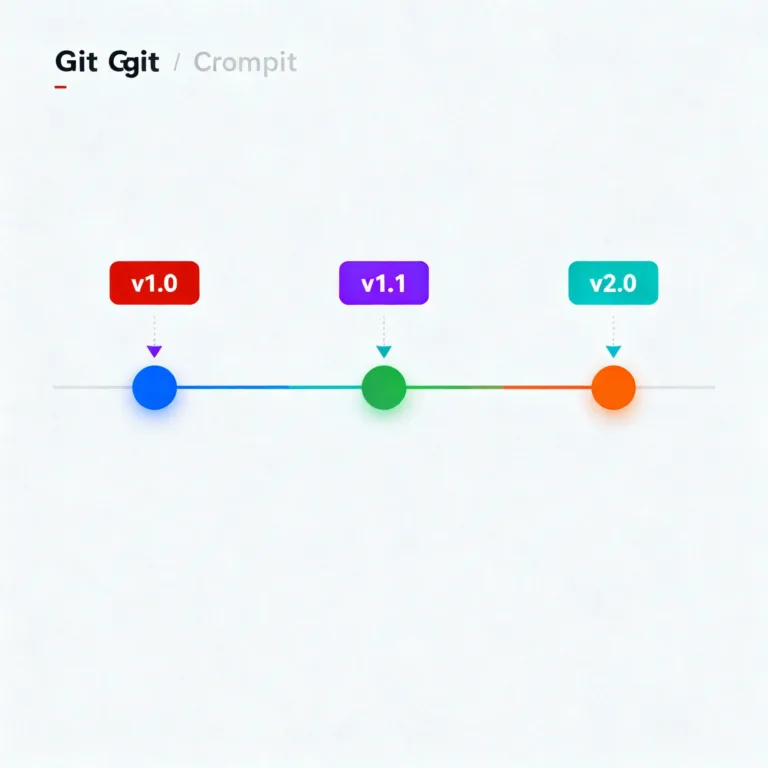
Tagging Commits in Git
Tagging is a powerful feature in Git that allows developers to create markers at specific points in the commit history. Tags are used primarily for identifying releases, tracking versions, and marking important milestones in a project’s lifecycle.

What is Tagging in Git?
In Git, tagging allows you to label specific commits with a unique identifier, typically used to mark important points in the repository’s history. Tags are commonly used for:
- Marking version releases (e.g.,
v1.0,v2.0). - Creating checkpoints or milestones.
- Signaling significant commits that should be easily accessible.
Tags act like bookmarks that let you quickly access specific versions of your code.
Types of Git Tags
Git offers two main types of tags: Lightweight Tags and Annotated Tags.
Lightweight Tags
A lightweight tag is essentially a simple pointer to a specific commit. It doesn’t contain any additional information, like a message or metadata, so it’s a quick way to mark a commit without adding extra details.
Annotated Tags
An annotated tag, in contrast, is a full Git object stored in the Git database, and it includes metadata such as:
- Tagger’s name, email, and date.
- A message describing the tag.
Annotated tags are generally preferred for marking version releases and important commits because they contain more context and can help provide a historical trail in the repository.
Why Use Git Tags?
Git tags serve several purposes in managing and tracking a project’s evolution:
- Versioning Releases: Tags provide clear checkpoints for each release version, making it easy to retrieve previous versions.
- Organizing Commits: Tags make it simple to find important commits, especially in projects with a long history.
- Enhancing CI/CD Pipelines: Continuous integration pipelines often use tags to trigger automated builds or deploy specific versions.
- Supporting Collaboration: Tags enable team members to quickly locate specific versions, such as a stable release, and collaborate more effectively.
Creating Tags
Creating Lightweight Tags
Lightweight tags are simple pointers to a specific commit. They are easy to create but don’t have extra information attached.
Command:
git tag <tag-name>
Example:
git tag v1.0
Here, v1.0 is a lightweight tag pointing to the latest commit.
Creating Annotated Tags
Annotated tags include additional information, such as the tagger’s name, email, date, and a message, making them more descriptive.
Command:
git tag -a <tag-name> -m "Tag message"
Example:
git tag -a v1.0 -m "First release of version 1.0"
Here, v1.0 is an annotated tag, and the -m flag adds a message describing the tag.
Viewing Tags
To list all tags in a repository, you can use the following command:
Command:
git tag
Example Output:
					v1.0
v1.1
v2.0
If you have multiple tags and want to filter them, you can use patterns:
Example:
git tag -l "v1.*"
This will display only tags that start with “v1.”
Deleting Tags
Deleting a Local Tag
You can delete a tag from your local repository if it’s no longer needed.
Command:
git tag -d <tag-name>
Example:
git tag -d v1.0
Deleting a Remote Tag
If you need to remove a tag from a remote repository, first delete it locally, then push the deletion.
Command:
git push origin --delete <tag-name>
Example:
git push origin --delete v1.0
Checking Out Tags
Checking out a tag allows you to view the repository as it was at the tagged commit. However, you’ll be in a “detached HEAD” state, meaning any changes won’t belong to a branch.
Command:
git checkout <tag-name>
Example:
git checkout v1.0
After running this command, your repository will reflect the state it was in at v1.0.
Pushing Tags to Remote Repositories
Tags created locally aren’t automatically pushed to remote repositories. You can push individual tags or all tags.
Pushing a Single Tag
Command:
git push origin <tag-name>
Example:
git push origin v1.0
Pushing All Tags
Command:
git push origin --tags
This command is useful if you want to synchronize all local tags with the remote repository.
Using Tags in Continuous Integration (CI)
Tags can play a crucial role in CI/CD pipelines, often triggering builds and deployments for specific versions. For example, a CI tool could be configured to trigger a new deployment whenever a new tag is pushed to the remote repository, ensuring that only tagged (and likely stable) versions are deployed.
Best Practices for Tagging Commits
Here are some recommendations for effectively using tags:
- Use Annotated Tags for Releases: They add more information and help keep track of version history.
- Adopt a Naming Convention: Use a consistent naming style, such as
v<major>.<minor>.<patch>. - Delete Unused or Deprecated Tags: Keeping your repository clean and organized improves usability.
- Tag Key Milestones and Fixes: In addition to releases, consider tagging critical bug fixes or major updates for easy reference.
Git tags are an invaluable tool for marking specific commits and organizing the repository’s history. By understanding the differences between lightweight and annotated tags, knowing how to create and delete them, and adopting best practices, you can efficiently manage and track versions in any project. Proper use of tags simplifies navigation, streamlines collaboration, and enhances version control for both solo developers and teams. Happy Coding!❤️
