Annotating Tags
Annotating tags in Git allows you to mark specific commits with detailed information, making it easier to organize and understand your project’s history. Annotated tags are commonly used to signify release points, milestones, or any other significant stage in a project. Unlike lightweight tags, which are simple pointers to commits, annotated tags add extra data, such as a message, timestamp, and author information, making them much more informative.

What is an Annotating Tags?
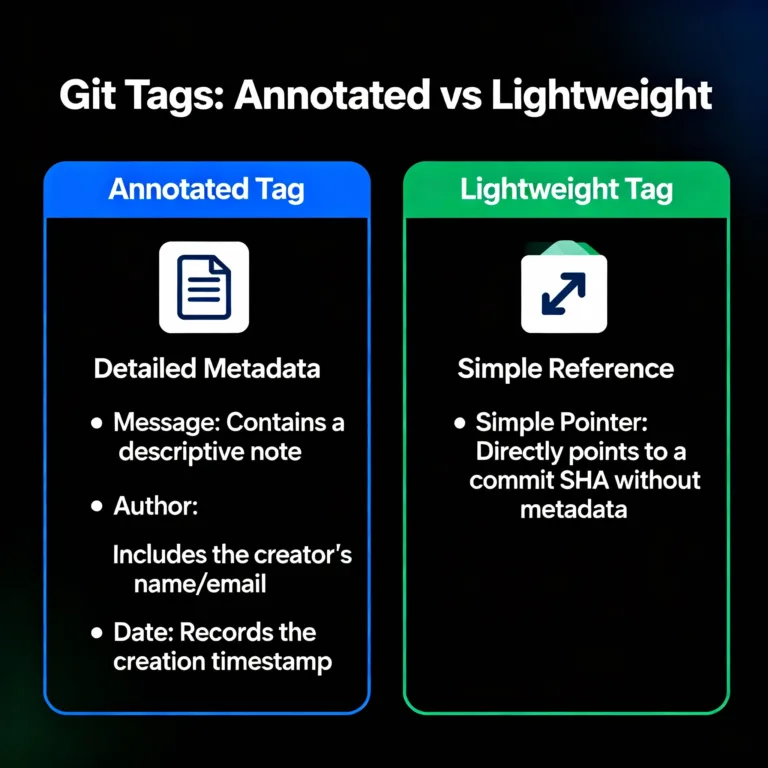
An annotated tag in Git is a tag that stores additional metadata beyond a reference to a specific commit. Unlike lightweight tags, annotated tags are full-fledged Git objects stored in the repository database. They can contain a message, the tagger’s information (name and email), and a timestamp.
Annotated tags are beneficial when tagging significant commits, like releases or major updates, as they help document the context behind the tag.
Differences Between Lightweight and Annotated Tags
Understanding the difference between lightweight and annotated tags is essential for effective tagging in Git.
| Feature | Lightweight Tag | Annotated Tag |
|---|---|---|
| Purpose | Simple pointer to a commit | Detailed information with metadata |
| Storage | Reference only | Git object (stored in the database) |
| Metadata | None | Includes author, timestamp, and message |
| Use Cases | Temporary or simple markers | Release versions, significant milestones |
Lightweight tags are useful for quick, temporary references, while annotated tags are preferred for creating permanent markers with historical context.
Why Use Annotated Tags?
Annotated tags add value to a Git repository by:
- Providing context for significant versions: Annotated tags are ideal for marking release versions, as they allow developers to include descriptive messages.
- Enabling traceability: Metadata such as the author’s information and timestamp provides a historical trail.
- Supporting CI/CD workflows: Many CI/CD systems use annotated tags to identify and deploy specific versions.
Annotated tags, therefore, enhance version management and ensure that every significant stage in the project is recorded.
Creating an Annotated Tag
Creating an annotated tag involves specifying a message and other optional metadata. Here’s the syntax and some practical examples.
Basic Syntax for Creating an Annotated Tag
To create an annotated tag, use the following command:
git tag -a <tag-name> -m "Message for the tag"
Example 1: Creating an Annotated Tag for a Version Release
Let’s say we’re creating a tag for the v1.0 release of a project:
git tag -a v1.0 -m "First official release of version 1.0"
In this example:
v1.0is the name of the tag.-mspecifies the message, here describing the tag as the “First official release of version 1.0.”
Example 2: Tagging a Specific Commit
You can also tag a specific commit by specifying the commit hash:
git tag -a v1.1 <commit-hash> -m "Bug fixes for version 1.0"
In this case:
v1.1is the tag name.<commit-hash>should be replaced with the actual commit hash of the target commit.- The message specifies that this is a tag for bug fixes.
Viewing Annotated Tags
To list all tags in your repository, use:
git tag
For more detailed information about an annotated tag, including its message and metadata, use:
git show <tag-name>
Example: Viewing Tag Details
git show v1.0
Output:
					tag v1.0
Tagger: John Doe <john@example.com>
Date:   Thu Oct 19 13:12:41 2023 -0400

First official release of version 1.0

commit 6a1b2c3d4e
Author: John Doe <john@example.com>
Date:   Wed Oct 18 15:45:21 2023 -0400

    Add initial version of the project
This output shows the tag details, including the tagger, date, message, and the associated commit.
Editing Annotated Tags
Git does not allow direct editing of tags. However, if you made an error in the message or other details, you can delete the tag and recreate it.
Steps to Edit a Tag:
- Delete the old tag.
- Create a new tag with the correct information
Deleting Annotated Tags
To delete a tag locally, use the following command:
git tag -d <tag-name>
Example:
git tag -d v1.0
Deleting a Remote Tag
If you need to remove a tag from a remote repository, first delete it locally, then push the deletion.
Command:
git push origin --delete <tag-name>
Example:
git push origin --delete v1.0
Pushing Annotated Tags to a Remote Repository
Tags created locally won’t be automatically pushed to a remote repository. To share them, you need to push the tag explicitly.
Pushing a Single Tag
Command:
git push origin <tag-name>
Example:
git push origin v1.0
Pushing All Tags
To push all tags in your local repository to the remote repository:
Command:
git push origin --tags
Best Practices for Annotated Tags
- Use Annotated Tags for Significant Commits: For important versions or milestones, annotated tags provide valuable context.
- Adopt a Naming Convention: Using a consistent naming structure (e.g.,
v<major>.<minor>.<patch>) makes it easy to identify versions. - Document Changes in the Tag Message: Add a brief, meaningful description in the tag message to capture the purpose of the tag.
- Push Tags to Remote: Always push tags to the remote repository for shared visibility and collaborative workflows.
Annotated tags are a vital part of effective version control in Git. By using them to mark significant commits, you add context and traceability to your project. Annotated tags are particularly valuable for release management, as they allow you to track versions and document changes clearly. Happy Coding!❤️
